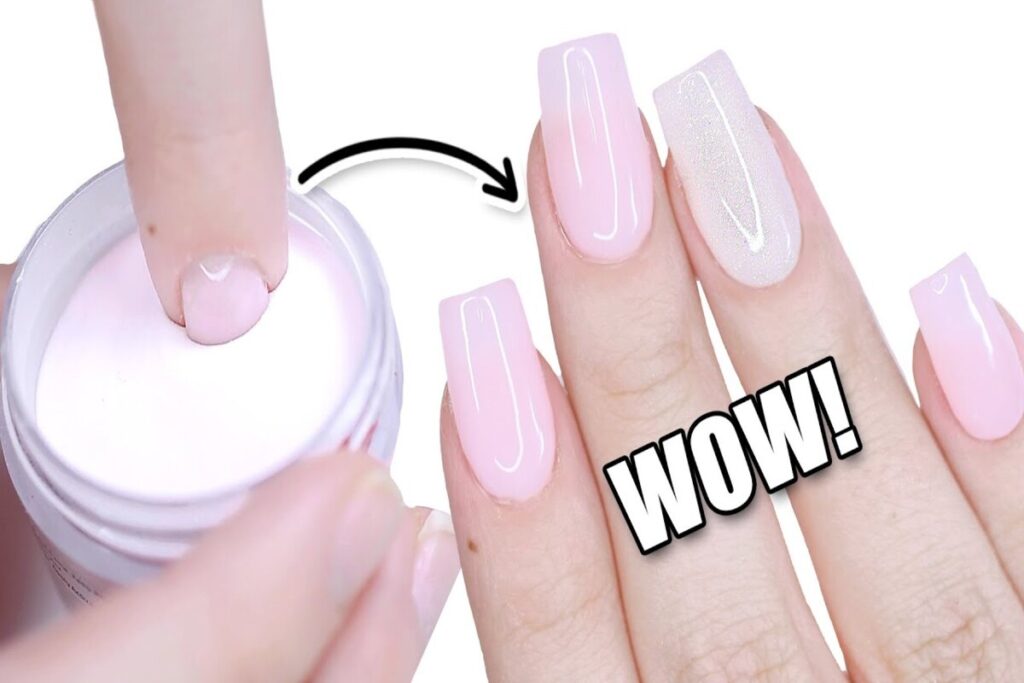
If you are interested in learning all there is to know about dip powder nails, you’ve chanced on the right piece. Dip powder nails involves applying a base coat on your nails and dipping it into a pigmented powder. It may sound like a simple nail enhancement technique, but a thousand-and-one designs could emerge.
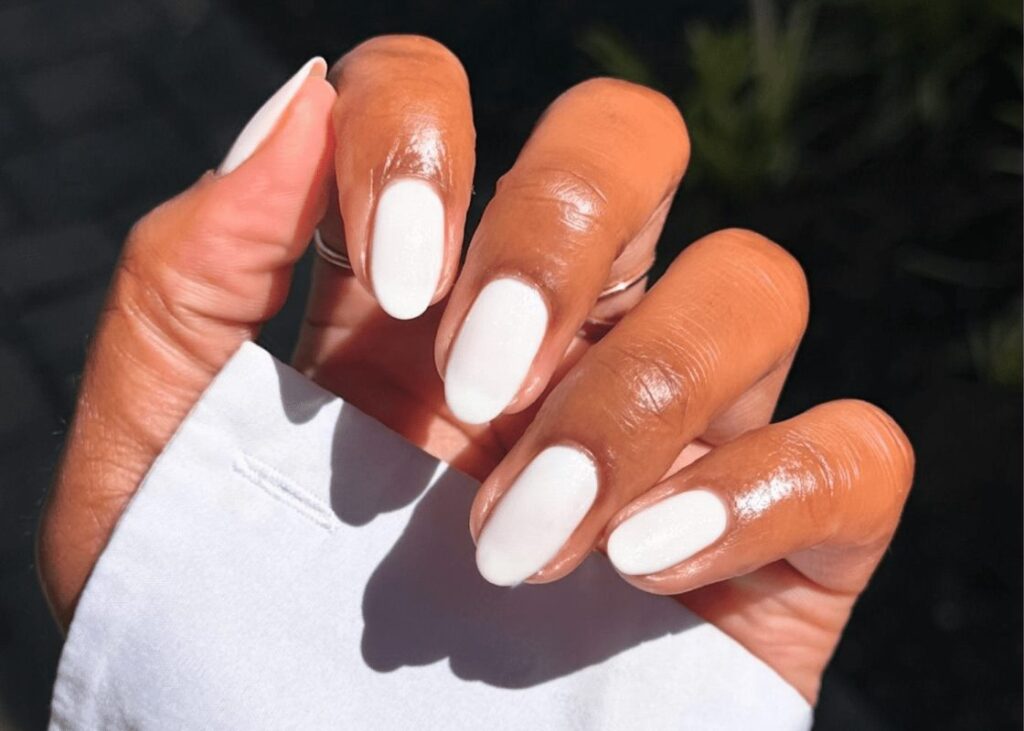
So, if you are still overthinking whether or not to try on dip powder nails, this piece also includes the pros and cons. Read on to learn the dip powder nail manicure technique.
1. What Are Dip Powder Nails?
The dip powder nail manicure technique yields the best results when a nail technician assists with the fixing. Interestingly, the trending nail style got its name from dipping your nails in a powder jar when fixing the manicure yourself. We’ll explain the steps in detail later on.
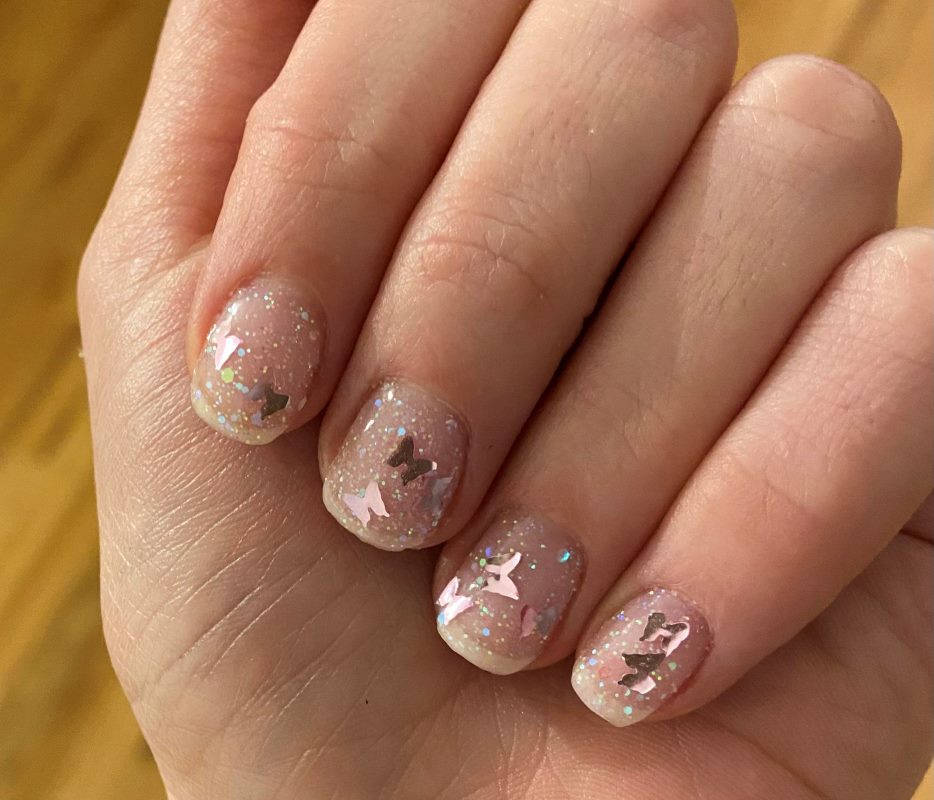
Usually, a fixing liquid is applied after the powder dip to set it in place, and another layer of coat is applied to give the nails a glossy, non-chip finish.
ALSO READ: 8 Best Summer French Tip Nail Designs
2. Steps Towards Well-Set Dip Powder Nails
Nail technicians will inevitably have varying proficiency in fixing dip powder nails for clients. Similarly, kits that allow self-administration of manicures at home are not all on the same par regarding quality. Nonetheless, we have five easy steps to get a long-lasting shine for your next home or salon manicure.
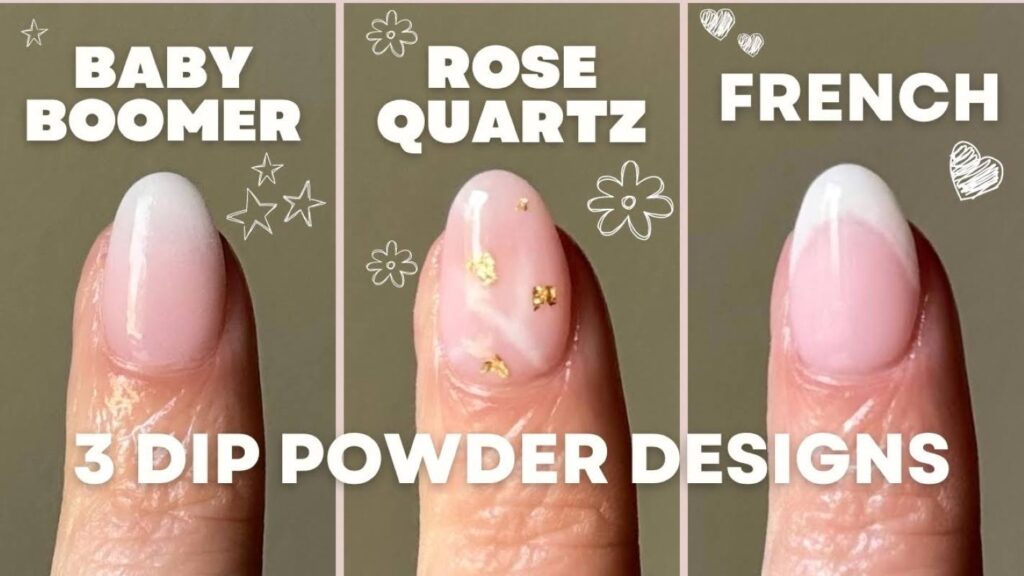
Step One: Clean and File
This is crucial to getting the best quality possible for your new manicure. Removing old polish or any form of adhering oil from the nails is essential. So, file, dust, and clean the nails first.
Step Two: Prep the Nails
The next step is to apply a bond liquid to the freshly cleaned nails. This dip base coat will serve as an interface between the nails and the powder. If you’re using acrylic or press-on nails, you can skip step one.
Step Three: Dust On Some Colored Powder or Take a Dip
If your manicure is done at a salon, the nail technician will dust some colored powder on the freshly applied base coat to create alluring designs and patterns. Depending on how good the first layer is, one or two more layers of base coat and powder with a variety of colors will be added to give the nail enhancement more effect.
Some salons add another layer of clear powder over the others for more durability. If you’re enhancing the nails yourself, you will need to dip the coated nails in a powder jar for each coat layer.
Step Four: Buff and Seal
Upon adding a layer of colored powder, the nail tech buffs the nails to remove excess powder. Subsequently, a liquid sealant is applied to the surface, fixing the manicure design.
Step Five: Add the Glossy Finish
Some minutes after the liquid sealant dries up, the nail technician will apply a liquid top coat for a long-lasting shine. However, since this final coat takes a long to dry and fix, some salons use UV-free curing lamps to hasten the drying.
3. Is Dip Powder a Healthy Manicure Technique?
Dermatologists suggest that nothing beats leaving your nails in their natural form. However, fixing dip powder nails is not likely to cause much damage if handled by an experienced nail technician, and so far, maintenance has been done as prescribed.
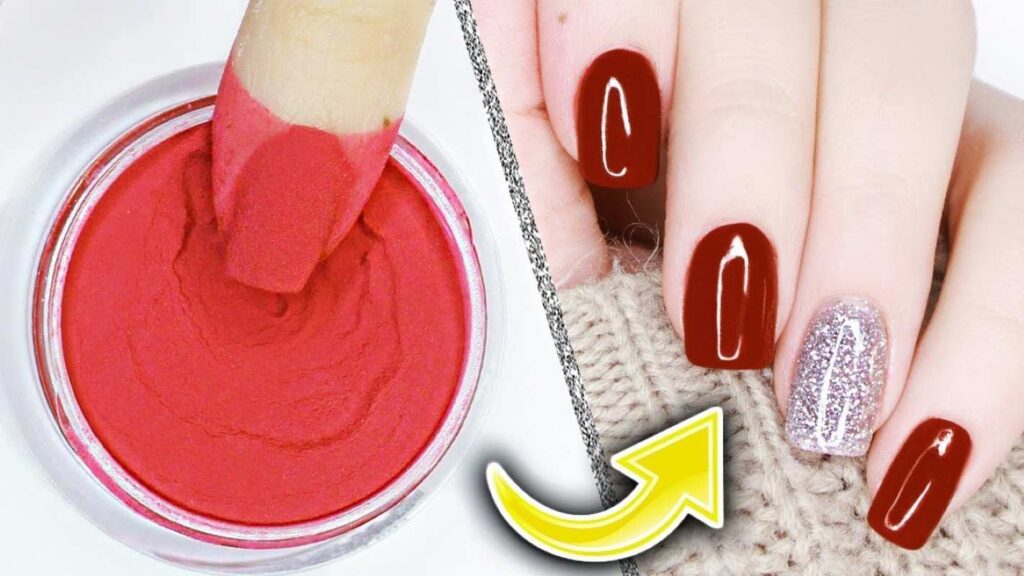
.Nonetheless, Mona Gohara, M.D., a certified dermatologist, advises against having nail dips in powder at a salon. That single jar would most likely have been used for quick color applications for several other clients, making it a potential hotbed of germs. So, avoid using the salon’s powder jar for a quick application. Instead, insist on a dusting brush and confirm that it is clean.
ALSO READ: Moscow Mule Nails: The Ultimate Metallic Manicure for the Holiday Season
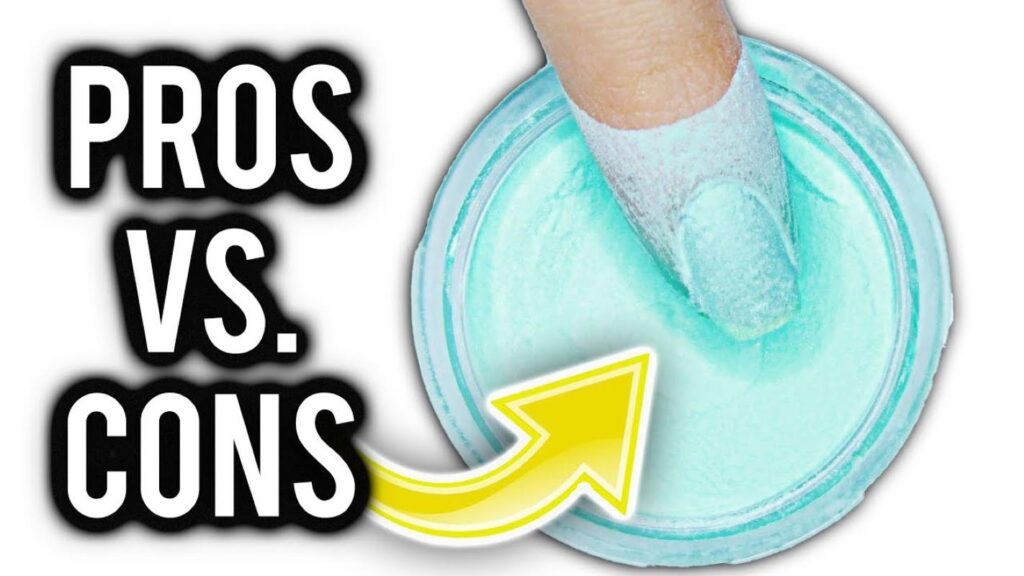
4. Pros and Cons of Dip Nails
Like any other nail enhancement technique, dip nails come with their peculiar pros and cons. We discuss some of them below:
Pros
- Dip nails last longer than gel manicures or nail polish. Well-fixed dip nails can be worn for about three weeks.
- Unlike gel manicures, which require curing with UV lights, dip nails can dry independently. However, if a gel finish with a non-chip finish is added as the final layer, it can be dried through UV-free curing.
- Dip nails afford users the choice of design and color variety.
Pros
- Wrong handling may jeopardize nail health.
- Most dip nails don’t enjoy easy removal. Most nail techs use acetone-based cleaners for easy removal, leaving your nails and hands dry for up to a week.
- For nail health, you may need to leave your nails bare for two weeks after removing a nail dip.
Whether you’re doing a dip powder manicure on press-on nails or your natural nails, it is essential to get the procedure right. So, the priority should be having a certified manicurist or nail technician perform the technique.
While dip powder nails are cool and attractive, avoid using DIY kits for this manicure technique if you lack experience. Overall, dip nails are trendy because they make your hands look chic.
