
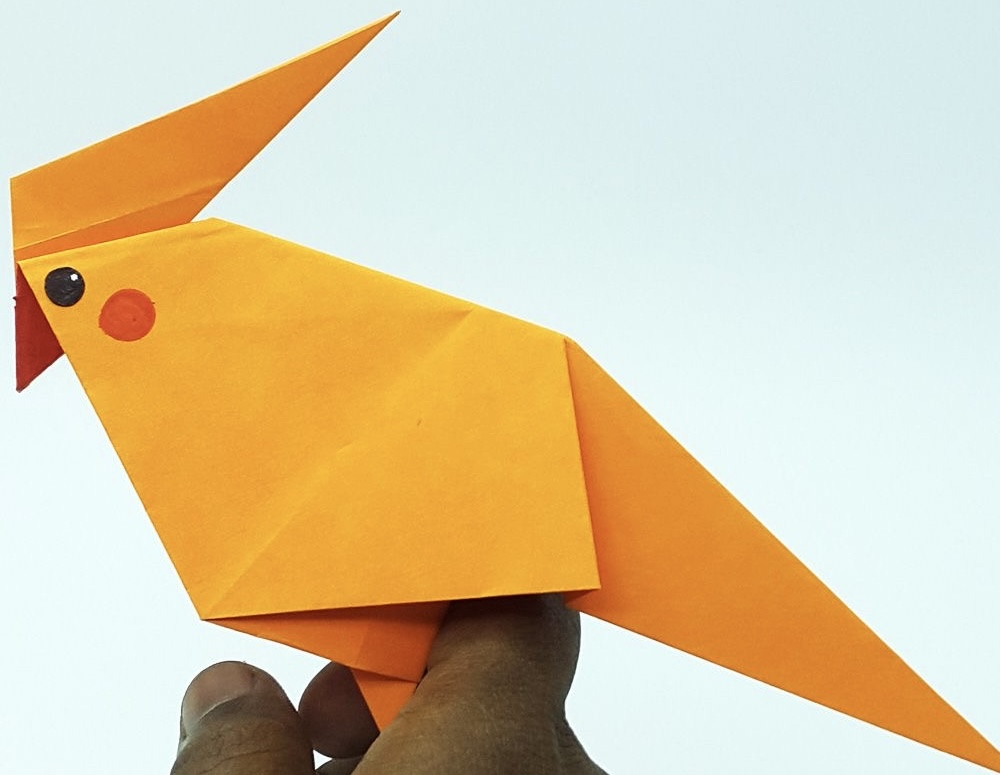
Have you ever imagined making a colourful, life-like parrot with just one single piece of paper? Well, yes! With origami, you can make a parrot with lots of vivid details, including a shake, a beak, and a broad chest.
These details are not the only interesting things about this paper parrot. Even though it is made of paper, it can perch fingers, be on your table or stand on the screen of your computer, and you can make one by yourself.
This article includes an easy guide you can follow to design your own origami parrot. Whether you are a seasoned origami artist or new to it, these steps can help you.
Techniques for Folding Your Origami Parrot
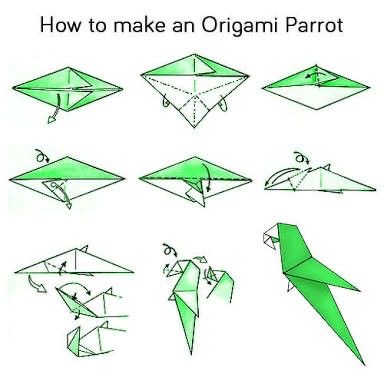
To make your origami parrot, you will start with something called the Bird Base. Bird Base is a common starting shape that is used in many origami models of birds. It can be used to craft birds like swans and eagles. It is basically the foundation that will help you build the rest of the bird’s body.
After the bird base, you will need to learn two important folds. These important folds are the Inside Reverse Fold and the Outside Reverse Fold. These folds are used to shape the parrot’s head and feet. You make these folds by changing the direction of the paper. It might sound tricky, but with practice, you will get the hang of it.
The following are what you should expect and what you need for your origami parrot:
- Folding Time: It takes about 20 minutes to make this origami parrot, so you have to be patient and take your time.
- Paper: You will need a 24 x 24 cm square piece of paper.
- Difficulty: This project is advanced. This means it might be a little tricky and requires careful folding. However, with practice and focus, you can do it, and before you know it, you will soon have a beautiful paper parrot to show off.
ALSO READ: Up Your Homemade Sushi Wraps Hack with This Seaweed Folding Hack
Step-by-Step Guide to Folding an Origami Parrot
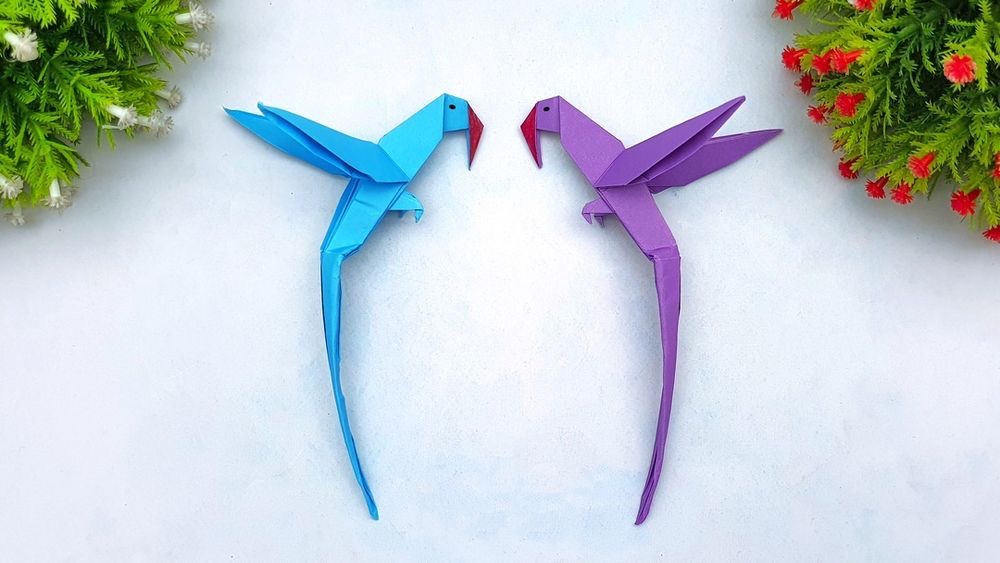
With a piece of 24 x 24 cm origami square paper, you can get a 20.2 x 6.9 cm Origami parrot. In order to make your parrot more unique, you can make use of a textured and patterned paper. When you have these materials ready, you can take the following steps:

- Step 1: Let us assume you are using a single-sided solid origami paper (one side is brightly colored and the other side is white). Start with the colored side of your paper facing up. Fold the paper in half horizontally, crease it well, then unfold it.
- Step 2: Fold the right point to the left diagonally, crease it well, then unfold. After unfolding it, flip it over.
- Step 3: Fold the bottom right edge. Let it be on the same line with the top left edge, crease it well, and then unfold it. Then, you will fold the bottom left edge to align with the top right edge. This will leave a crease, and then you unfold.
Folding an Origami Parrot: Step 4 to 10
- Step 4: Shape the left and right creases. Press the left and right points, then push them down so they will meet the bottom point. After doing this, flatten the fold along the existing creases.
- Step 5: Fold the bottom left and right edges of the top layer of the paper. Let it be in line with the middle vertical crease. Make sure to crease them well and then unfold them. After this, fold the top corner down and unfold it.
- Step 6: Open the pocket based on the crease you created in the previous step. Then, you will lift the top layer. After this, push the left and right points to the center, and flatten the pocket. Then, fold the top triangle down and flip it over.
- Step 7: You should be familiar with this step as you have done it before. Fold the bottom left and right edges to the center, and unfold. Then, carry out the same process in Step 6.
- Step 8: Cut the paper along the top vertical crease, fold the top layer’s bottom triangle up along the horizontal crease, and flip the paper over.
- Step 9: Focus on the two triangles in the center and fold their top corners down diagonally. Crease them well, then unfold them. Take up the left triangle, open it from the left, and then press it to create a square. Do the same thing for the right triangle and create another square.
- Step 10: Fold the left square’s top and bottom edges. Crease them very well, then unfold them. Repeat this for the right square. Lift the top layer of the left square by taking its left point. Fold it to the right and push the top and bottom points to the center. After that, flatten it along the creases you made in the previous step, and then fold the right triangle back to the left. Do the same thing for the right square.
Folding an Origami Parrot: Step 11 to 16
- Step 11: Flip the paper and fold the bottom left and right edges. Flip the paper over again. Then, fold the two small triangles down diagonally.
- Step 12: Fold the left and right corners of the top layer to the center. Make it overlap with the bottom layer, and fold the paper in half vertically from right to left. Then, fold the upper top layer down and unfold it. Also, fold the upper layer down to the right; it should line up with the top left edge with the top right edge of the lower layer, crease it well, and then unfold.
- Step 13: Lift the upper top layer along the crease that was there before. Open this layer, then press it based on the creases earlier. Then, fold the top and bottom left corners of this folded part slightly backward. After this, rotate 180 degrees horizontally. Then, fold the layer down to the left. Ensure its top right edge aligns with the top left edge of the lower layer. Crease well, then unfold.
- Step 14: Lift the top layer, open it, and press it along the creases you just made. Fold the top and bottom right corners of the folded part backwards a bit, fold the top point down, and unfold it.
- Step 15: Switch to the left side view and fold the right point to the left diagonally. Let it meet the intersection point of the middle and the creases you made in the previous step. Then, fold it back to the right. Finally, press the right tip down and close the corner along the existing creases. Now, you’ve created the parrot’s head.
- Step 16: Press down the right tip from the top to open the beak part. Close and flatten it along the creases you made in the previous step.
Shaping the Feet of the Origami Parrot
When you want to shape the feet of the origami parrot, take the following steps:
- Fold the front foot down a little, then unfold it.
- Rotate it 90 degrees in an anticlockwise direction and view it from the left side. Open the foot flap and press the tip down. Let it tuck between the flap’s layers, then close and flatten it along the creases you made earlier. After that, rotate the paper 180 degrees horizontally, then fold the foot down a little, crease it well, and unfold.
- Open the corner that you created in the last step. Press the tip down to tuck it between the layers, then close and flatten the corner along the creases you just made.
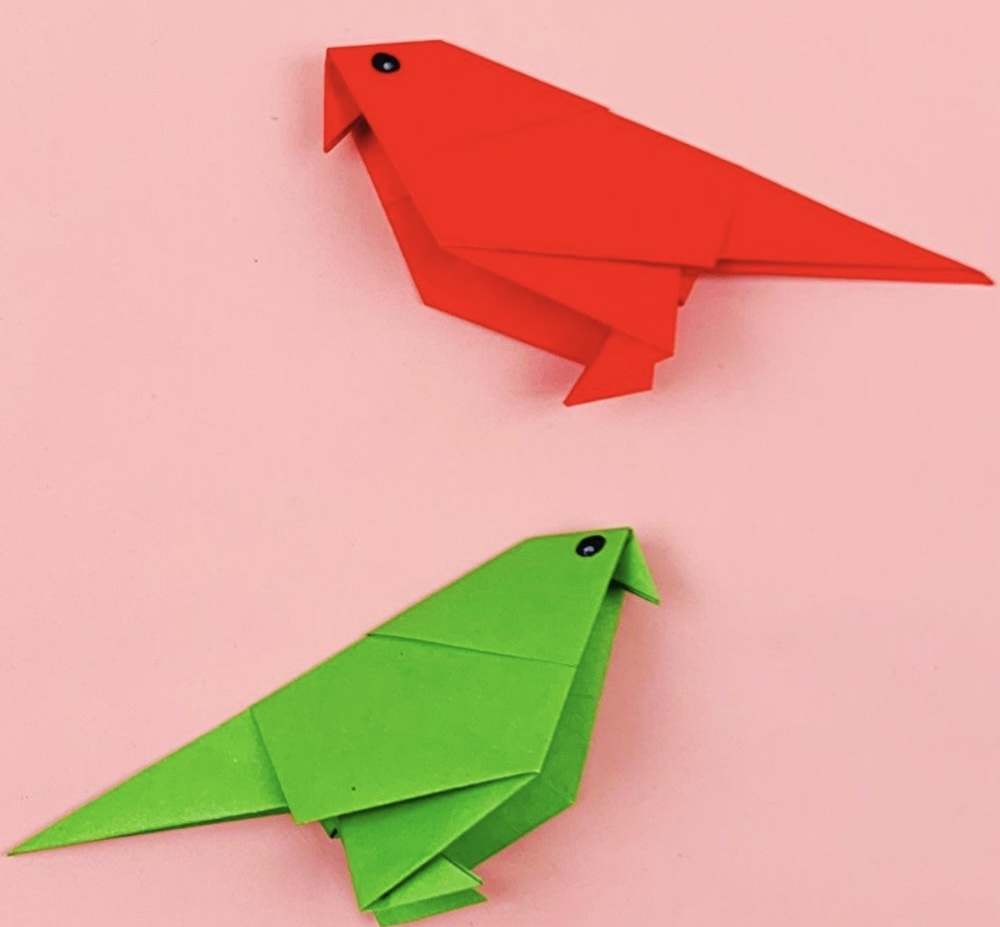
When you follow these simple steps, you will have a complete origami parrot. Your life-like paper parrot will be perfect and ready for display.