
Making ribbon roses is a fun and rewarding craft that adds a touch of elegance to just about anything. Whether you’re dressing up a birthday wreath, putting together wedding decorations, or creating delicate fabric roses, knowing how to craft these beauties will come in handy.
Satin ribbon is a go-to for its smooth, classy finish, and the most interesting part? These roses last way longer than fresh flowers. Ready to learn a new craft? Let’s get started.
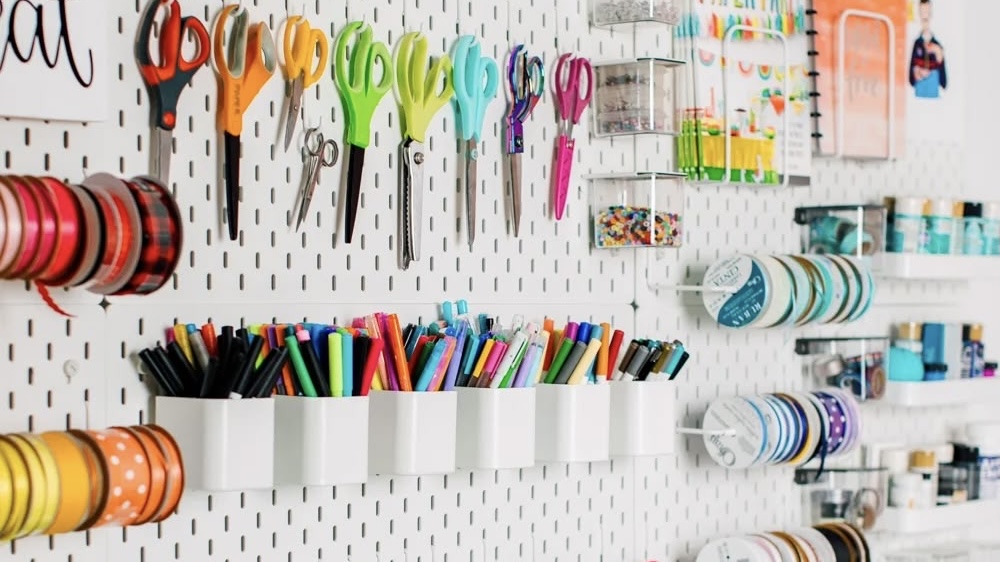
Gather Your Supplies
First things first—grab your materials. You’ll need satin ribbon in the color of your choice—you can work with a variety of colors if you wish. Up next, you will need sharp scissors, a glue gun (or fabric glue), floral wire, and green floral tape.
If you love the idea of preserving flowers in a creative way, quality ribbon will keep your roses looking vibrant for years. Got everything? Perfect, let’s get rolling. There’s more ahead; keep reading.
Picking the Best Ribbon
Not all ribbons are created equal! Satin ribbon is a classic pick because of its soft texture and slight shine, giving your roses a lifelike look. But don’t be afraid to mix things up—grosgrain ribbon offers a textured, sturdy feel, while organza adds a sheer, delicate touch. Thicker ribbons create fuller blooms, whereas thinner ones are great for dainty, intricate designs. It’s all about your preference. Just do you!
Ribbon Roses Step by Step: Creating the Base
These steps are simple; trust us on this one. All you have to do is start by cutting about 24 inches of ribbon. After that, fold one end at a 45-degree angle to create a pointed tip—this will be your rosebud.
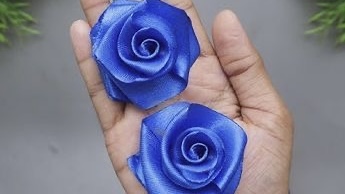
Then, roll that folded tip tightly and secure it with a little dab of glue. That’s your starting point! Hold it steady before moving to the next step so your base stays firm. Simple, right?
Twisting and Shaping the Petals
Now for the fun part—forming petals! Twist the ribbon slightly outward and wrap it around the center. Every few turns, secure it with glue to keep everything in place. Here’s the trick: vary your twists. Some should be tight like a fresh bud, while others should be loose and open to mimic real petals. The more natural, the better!
Locking It In: Wire and Tape
Once you reach the end of your ribbon, tuck the last bit under and glue it down. To give your rose some structure, insert floral wire through the base, then wrap it all up with green floral tape.

This step is crucial if you’re making wedding decorations or floral arrangements that need stems. Wrapping it neatly keeps everything looking polished.
Adding Leaves for an Extra Touch
Do you want your ribbon roses to look even more realistic? Add leaves! Use green ribbon or fabric to cut small leaf shapes and attach them to the base with glue or wire. This little detail goes a long way, especially when making birthday wreaths or elegant floral arrangements. It doesn’t take any extra work to get it done, so you should consider giving it a trial.
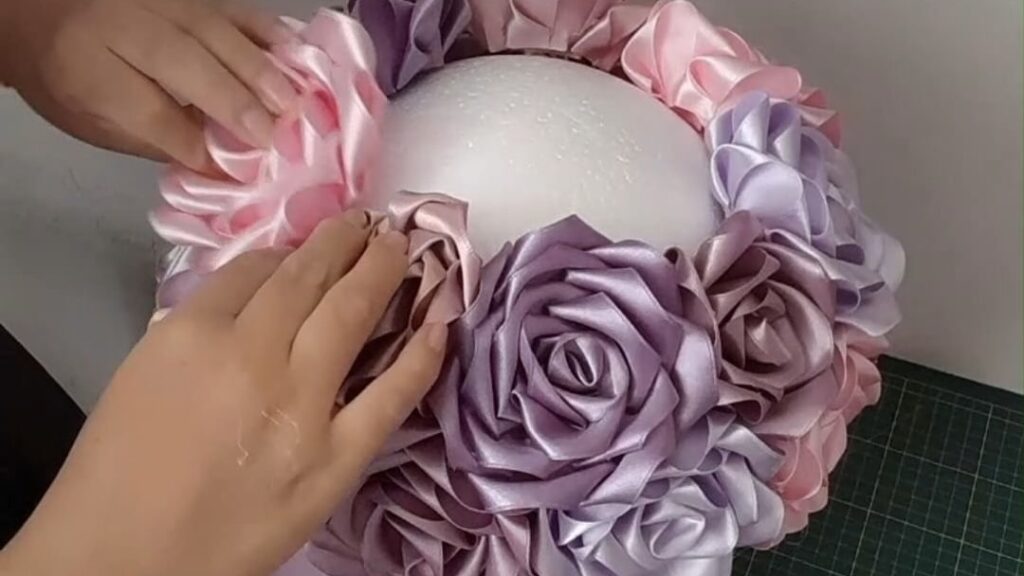
Fun Ways to Use Ribbon Roses
Once you’ve mastered this craft, the possibilities are endless! You can decorate gift boxes, hair accessories, home décor, or even clothing all by yourself without paying any decorator a dime!
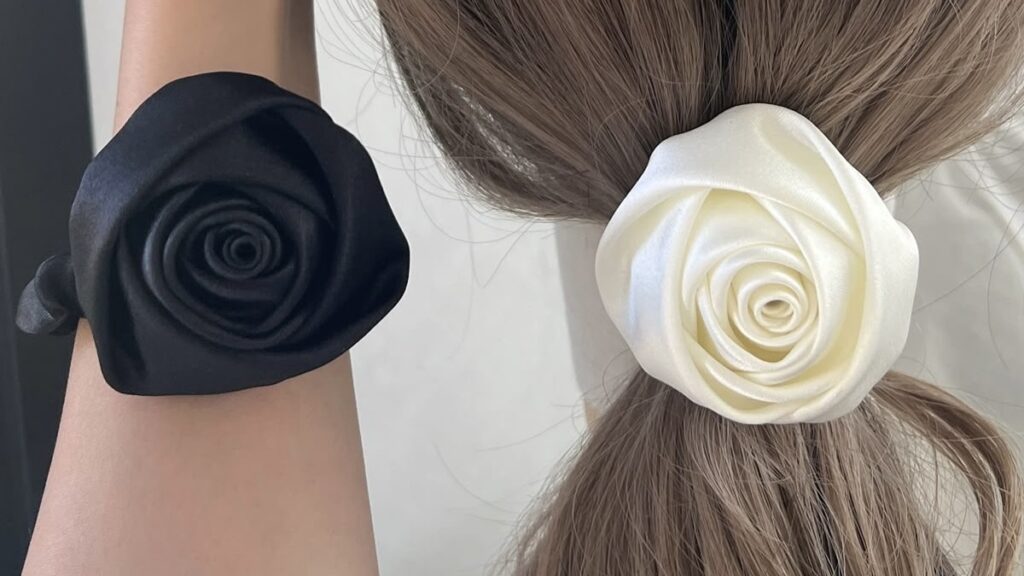
They also work beautifully in wedding decorations—think bouquets, corsages, or table centerpieces. And since they don’t wilt, they make a great keepsake.
Crafting With Ribbons: Pro Tips
Like anything, practice makes perfect. The fact that you didn’t get it right the first time doesn’t mean crafting with ribbons isn’t possible. If your first few roses look a little wonky, don’t stress! Try different ribbon types, adjust the tightness of your petals, or play around with layering. For extra precision, use wired ribbon to help shape each petal. Small tweaks can make a huge difference in the final look.
Wrapping Up: Improve Your Crafting Game
Making ribbon roses is a simple yet beautiful way to add a personal touch to your projects. Whether you’re decorating a birthday wreath, crafting fabric roses, or adding an elegant flair to wedding decorations, mastering this technique will open up so many creative possibilities.
Give it a try, and soon you’ll be crafting roses that look stunning and last forever. You can even decide to take it up professionally.