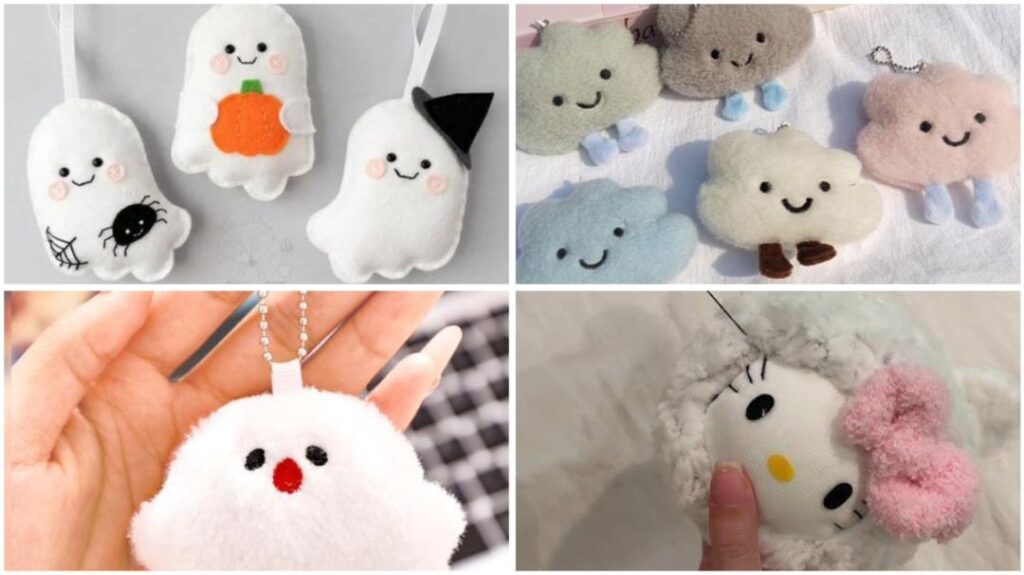
Imagine making a little Halloween friend that’s cute, soft, and not at all spooky. This felt ghost plush is just that! It’s a quick and easy project that’s ideal for beginners and kids who are new to sewing.
Source: Pinterest
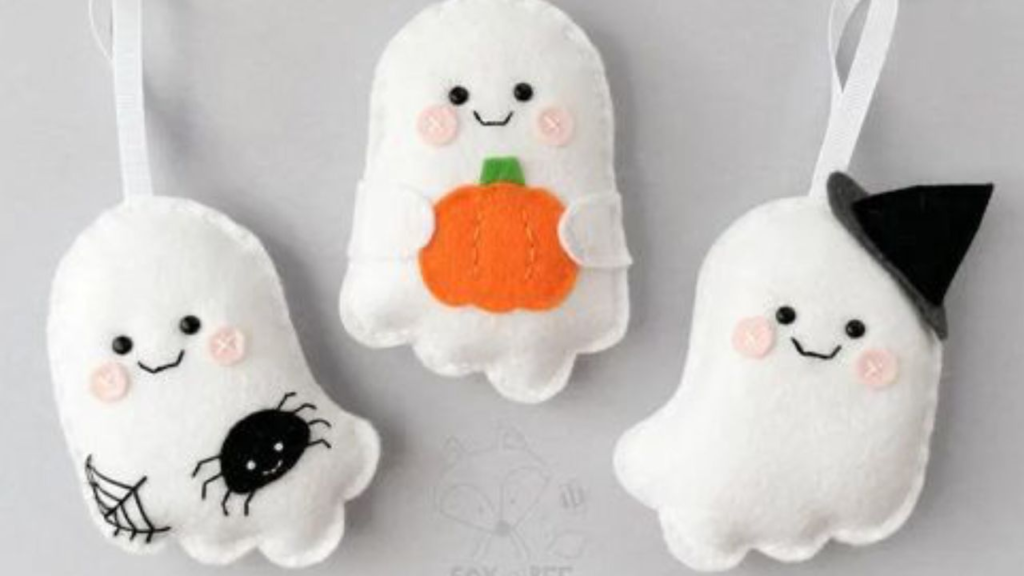
With big eyes, a friendly smile, and rosy cheeks, this ghost is perfect for anyone who loves Halloween but isn’t into frights. All you need is a bit of felt fabric, a free printable template, and some simple stitches to bring this ghost to life. Let’s dive into how to sew a cute ghost plush!
What You’ll Need for Your Felt Ghost Plush
Before we get started, make sure you have the right supplies. For this felt ghost plush, you’ll need white, black, and pink felt fabric (or any colors you want to personalize your ghost!). You’ll also need a fabric marker to trace your template, scissors to cut out each piece, and needle and thread to sew it all together.
Source: Pinterest
To make your ghost soft and squishy, have some soft toy stuffing or cotton balls at hand. Grab the free printable ghost template, which will guide you through the whole project.
1. Printing and Prepping Your Ghost Template
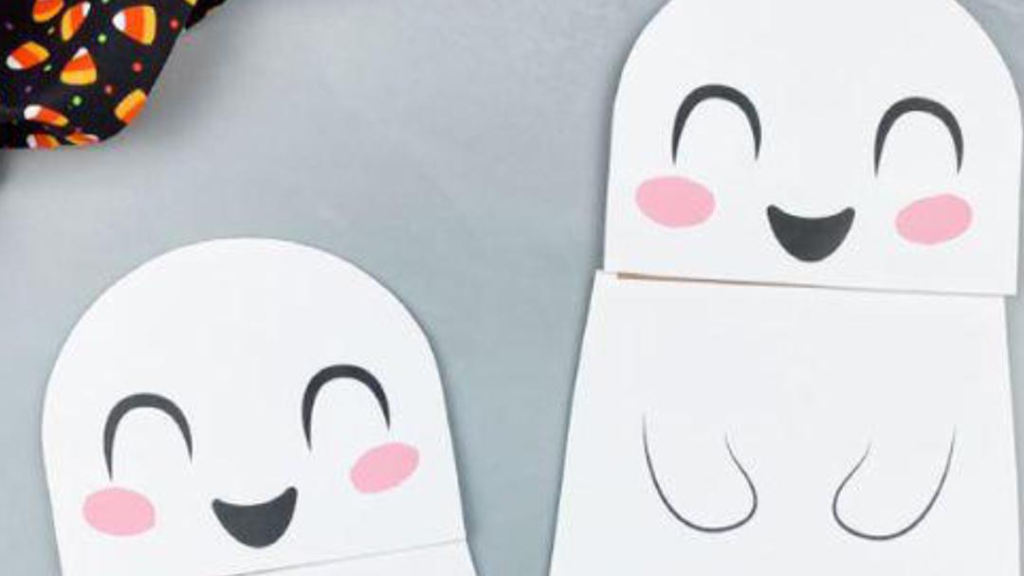
Let’s start by downloading and printing the ghost template. This template is your roadmap to cutting the ghost shape and all its facial features, like the eyes and cheeks.
Source: Pinterest
It’s available in both A4 and US letter sizes, so you can print it in whichever size best suits your printer. Tracing each piece onto your felt will make this DIY project quick and fun!
2. Trace and Cut Out the Ghost Shape
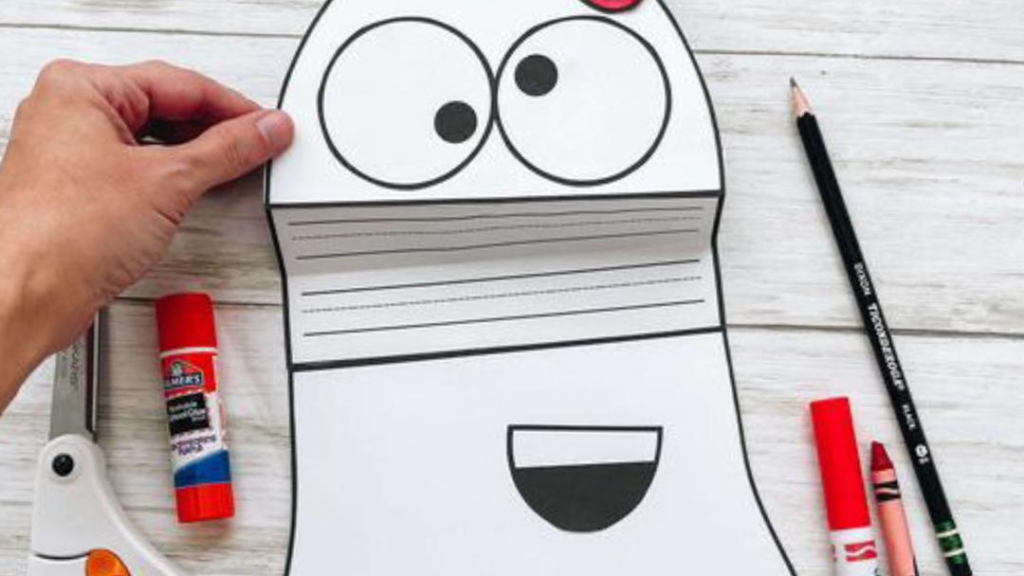
Now it’s time to bring the ghost to life! Place the white felt on a flat surface and use your fabric marker to trace the body shape of the ghost from your template. Then, cut out the body shape as carefully as possible.
Source: Pinterest
Repeat this with black felt for the eyes and pink felt for the cheeks. Each of these pieces will add character to your ghost, so take your time to get the shapes just right!
3. Attach the Eyes and Drawing the Smile
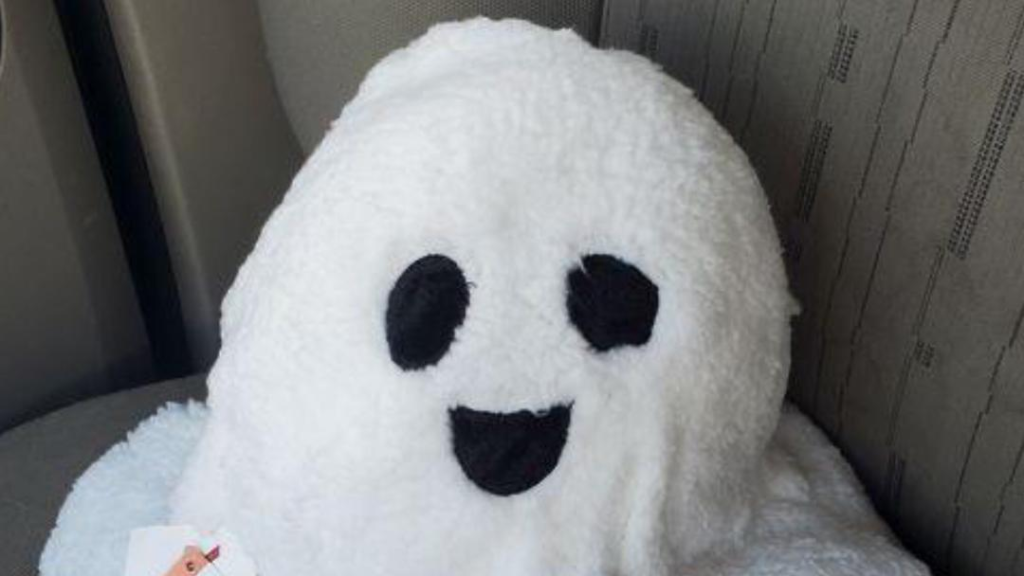
Now, let’s start putting the ghost’s face together! Position the eyes on one of the body pieces and sew them in place. Below the eyes, use a fabric marker to draw a soft smile and sew over it with black thread to make it stand out.
Source: Pinterest
This smile adds a touch of personality, giving your ghost that welcoming, friendly look. You’ll be amazed at how quickly it starts to look like a little friend!
4. Add the Cheeks for Extra Charm
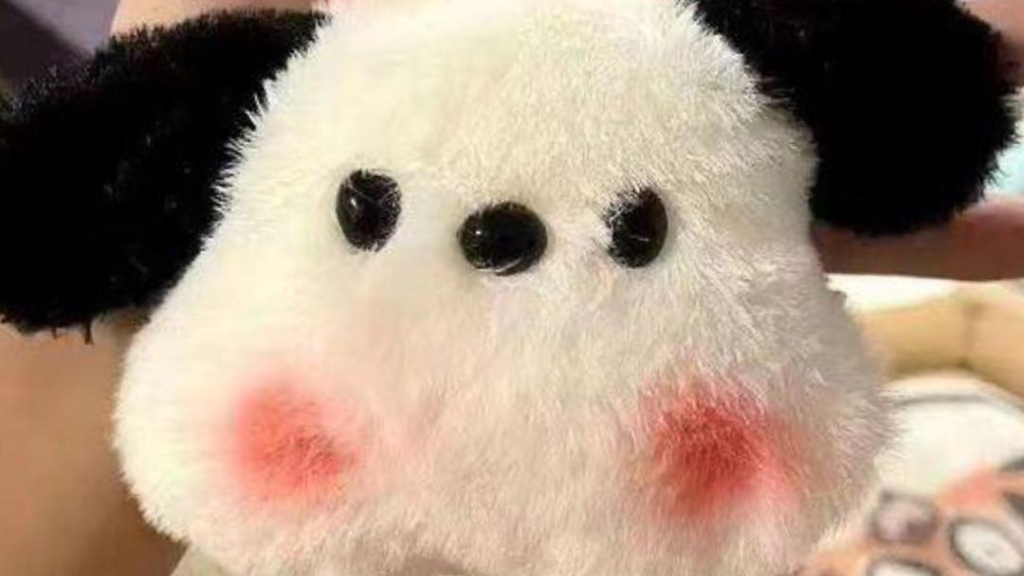
With the eyes and smile in place, it’s time to give your ghost some adorable, rosy cheeks. Sew the pink felt cheeks on either side of the smile, bringing a cute and cheerful vibe to your ghost’s face.
Source: Pinterest
These blushy cheeks make the ghost look friendly, fun, and ready for Halloween adventures!
5. Sew the Ghost Together
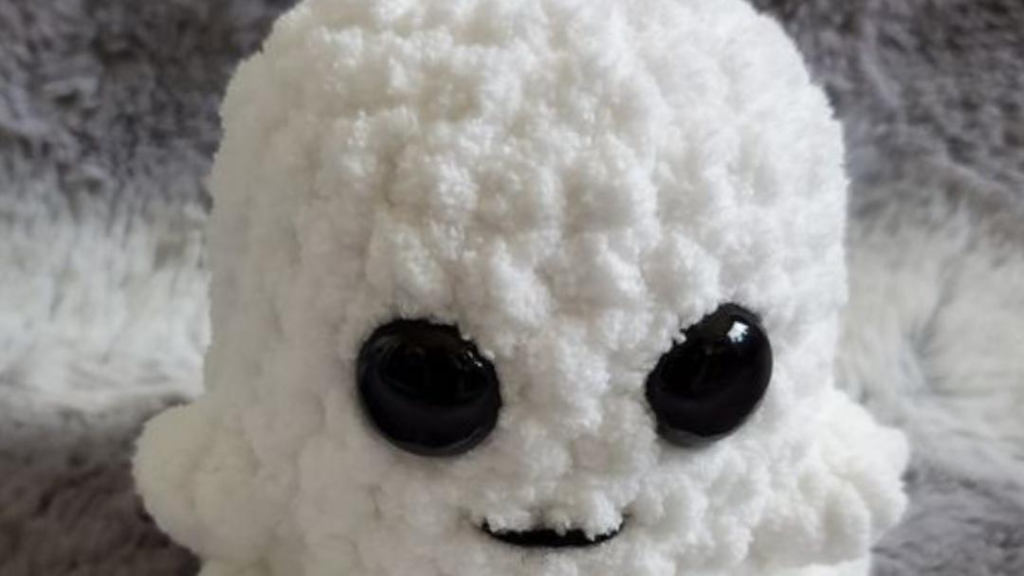
Now it’s time to assemble the plush! Place the two ghost body pieces together, with the decorated side facing outward. Start sewing around the edges, keeping your stitches neat.
Source: Pinterest
Be sure to leave a small gap along the bottom edge, allowing you to add stuffing later. Using sewing pins can help keep the fabric in place as you work, making it easier to stitch smoothly around the curves.
6. Stuff Your Ghost Plush
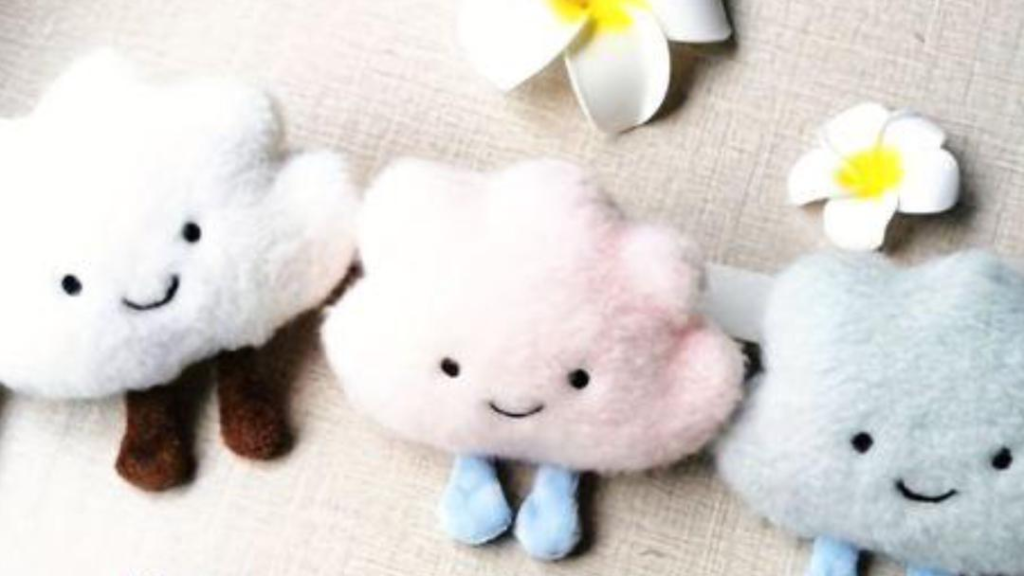
With most of your stitching done, it’s time to fill your ghost with fluff! Carefully stuff the ghost plush with soft toy stuffing or felt scraps until it feels soft but not too full. A pencil or chopstick can help you push the stuffing into all the little sections evenly.
Source: Pinterest
The goal is a ghost that’s cute, squishy, and cuddly—just the right amount of plumpness for a cozy Halloween decoration!
7. Closing Up Your Plush
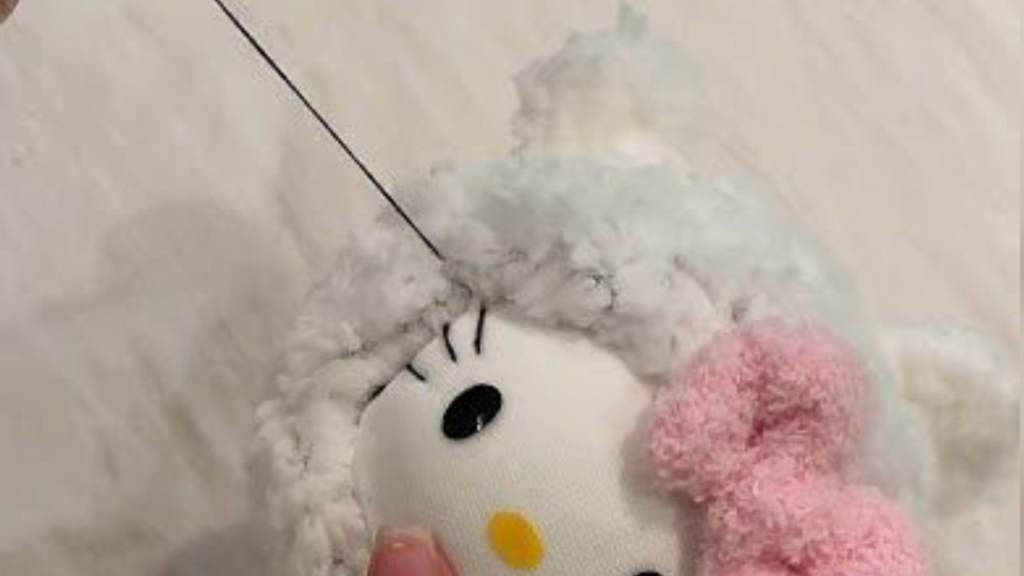
Once you’re happy with the stuffing, sew up the remaining gap to finish off your ghost plush. Make sure to tie off the thread securely to keep everything in place.
Source: Pinterest
This final stitch completes the plush, turning it into a cute little friend that’s ready for Halloween! You’ve created a charming felt ghost plush that’s as adorable as it is fun to make.
8. Creative Ways to Use Your Ghost Plush
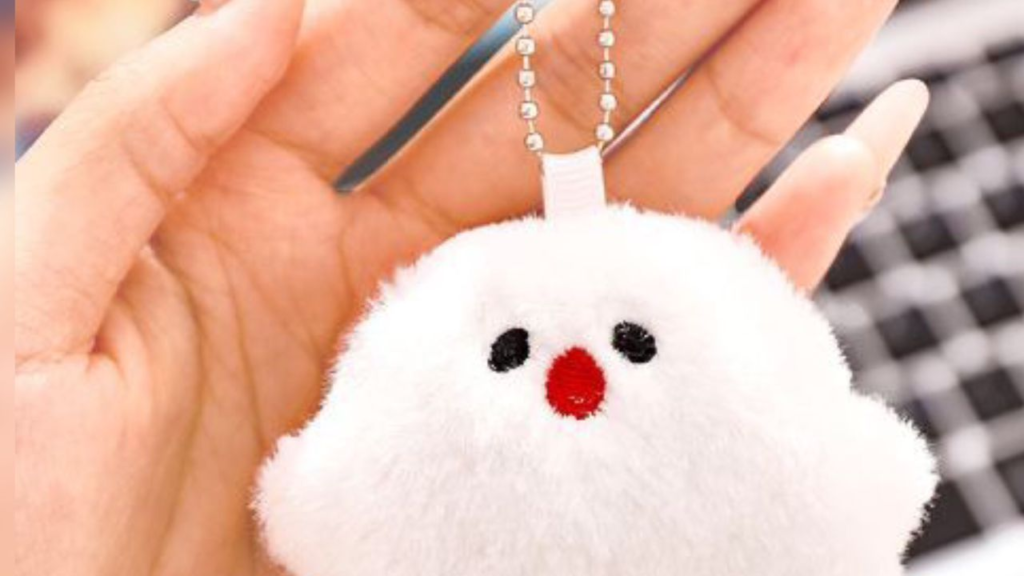
Now that you have your ghost plush, there are plenty of ways to show it off! Attach a ribbon loop to the top to hang it up as a Halloween decoration, or create a whole family of ghosts and string them together into a garland.
Source: Pinterest
You could even add a keychain loop to make it into a cute Halloween keyring. There are so many ways to enjoy this cute, friendly ghost!
9. Keep Your Friendly Halloween Craft!
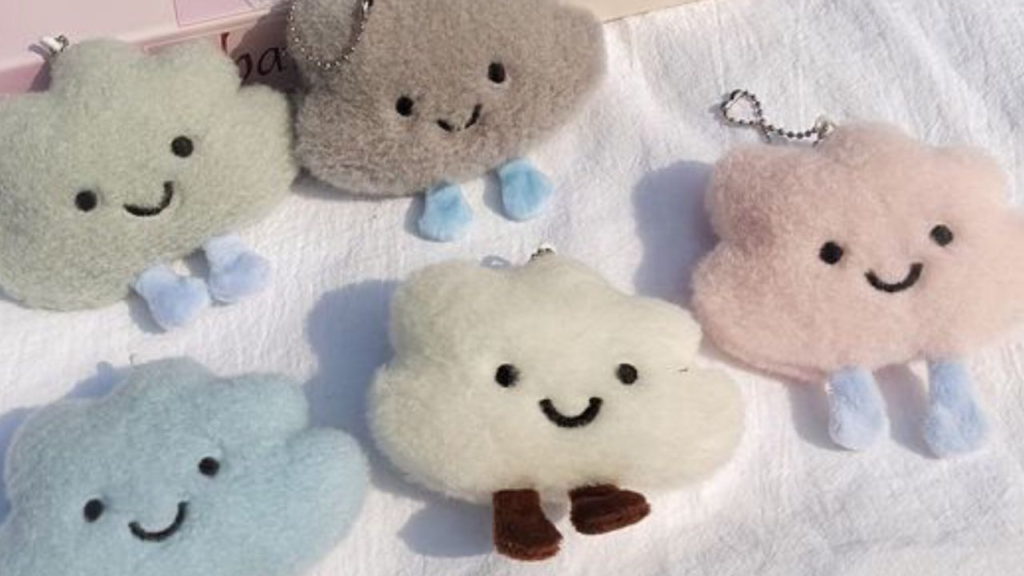
Congratulations! You’ve crafted an adorable felt ghost plush that’s just the right mix of cute and spooky for Halloween. This fun, beginner-friendly project has shown you how easy it is to sew, stuff, and create your handmade plushie.
Source: Pinterest
Whether you use it as a Halloween decoration or keep it as a little friend, this ghost plush is bound to bring some joy to your holiday season. Enjoy showing off your handiwork and happy Halloween crafting!
