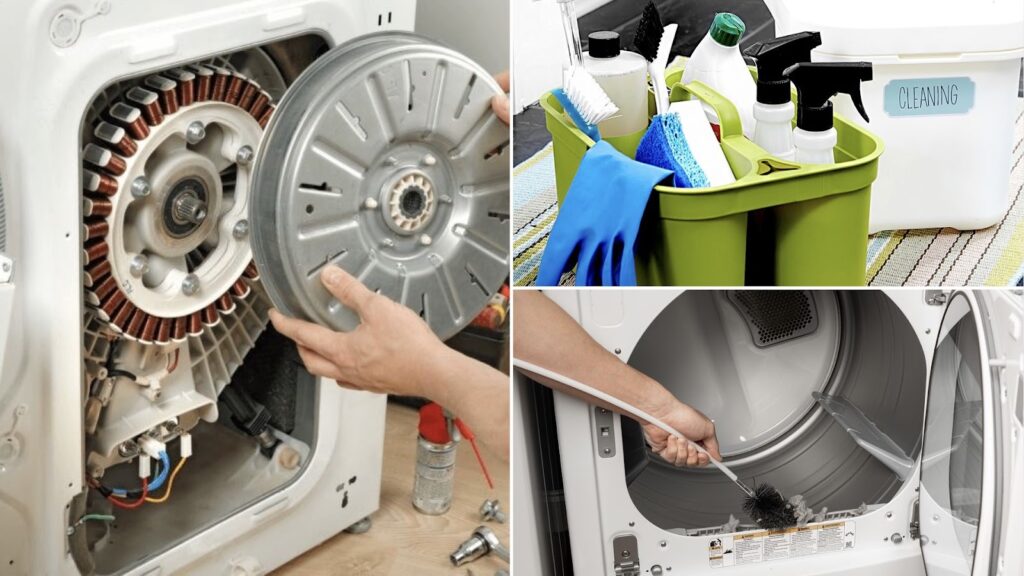
When it comes to keeping your laundry appliances in shape, knowing how to clean a dryer is an essential skill. A clean dryer not only improves efficiency but also prevents potential hazards like lint buildup.
Source: Pinterest
If you’ve just bought your first dryer, maintaining it can be very daunting; we can’t deny that. However, our step-by-step guide will show you how to clean a dryer and keep it in shape.
Why Cleaning Your Dryer Matters
Before we jump into the process, let’s talk about why it’s important to clean a dryer regularly. When lint accumulates in the lint trap or vent, it restricts airflow, making your dryer work harder.
Source: Pinterest
This not only shortens its lifespan but can also lead to overheating. Plus, a clean dryer is more energy-efficient, saving you money in the long run.
Steps to Cleaning a Dryer
Take the following steps when cleaning a dryer:
Step 1: Gather Your Tools and Prep Your Dryer
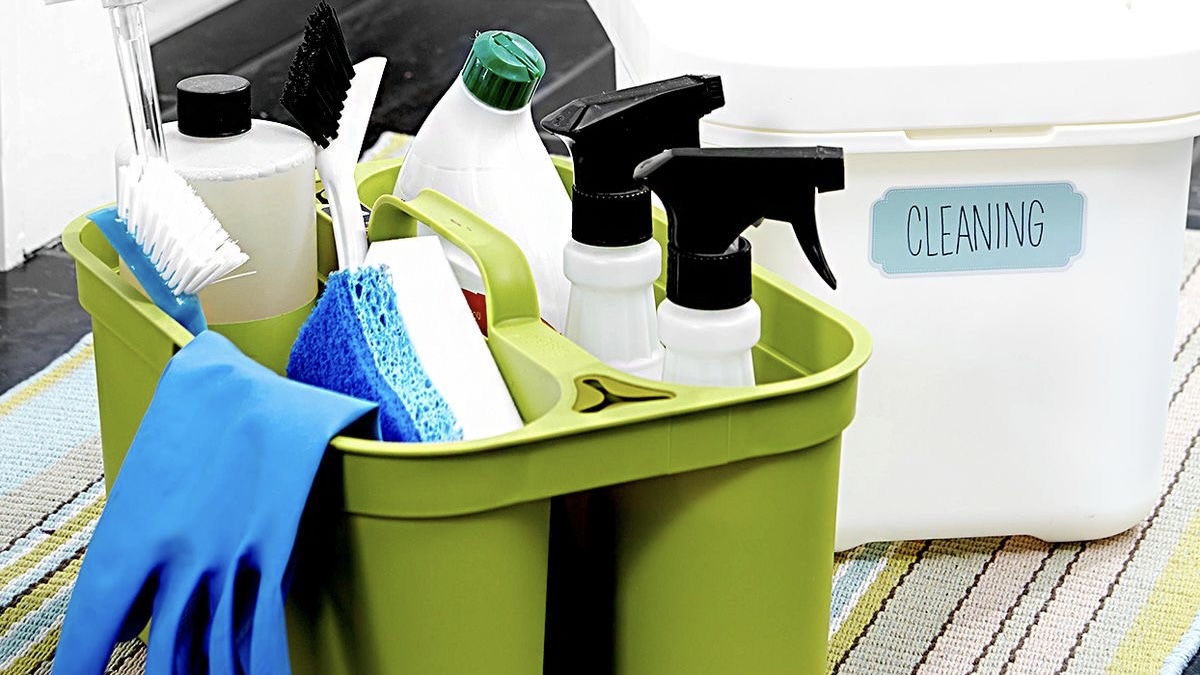
Before you start, make sure you have all the tools you need. A vacuum cleaner, a lint brush, a microfiber cloth, and mild cleaning detergent are essential.
Source: Pinterest
After ensuring you have all that you need, unplug the dryer before cleaning. With everything ready, you’ll have a fun and satisfying cleaning day.
Step 2: Empty and Inspect the Lint Trap
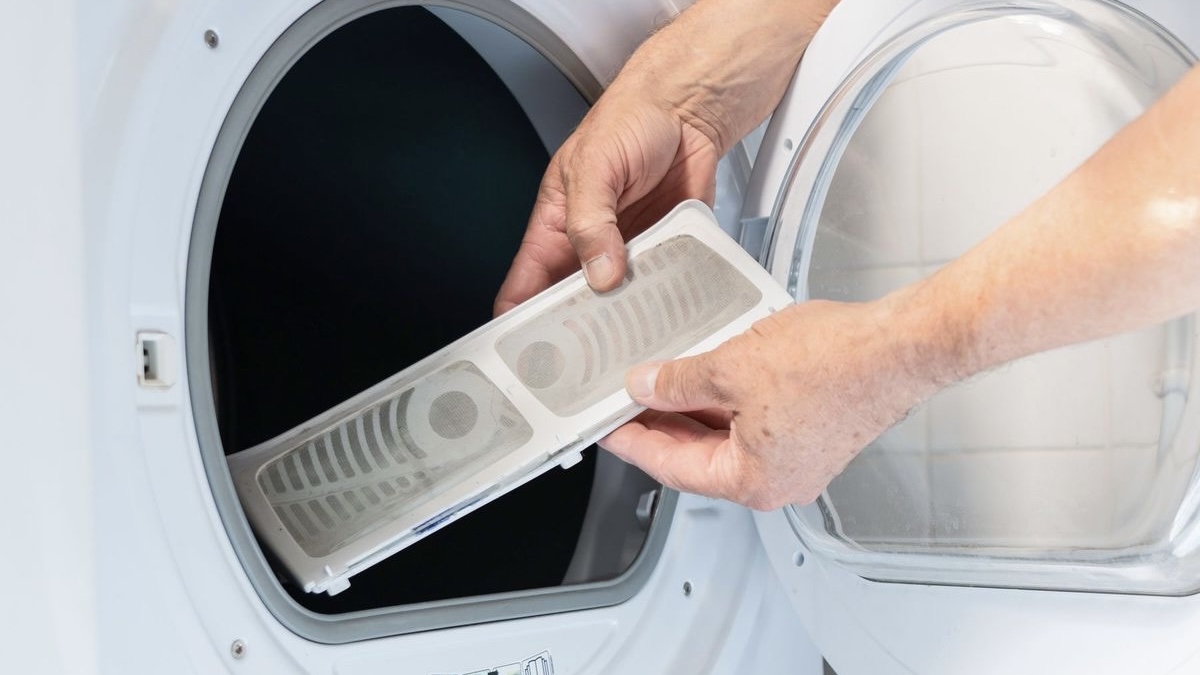
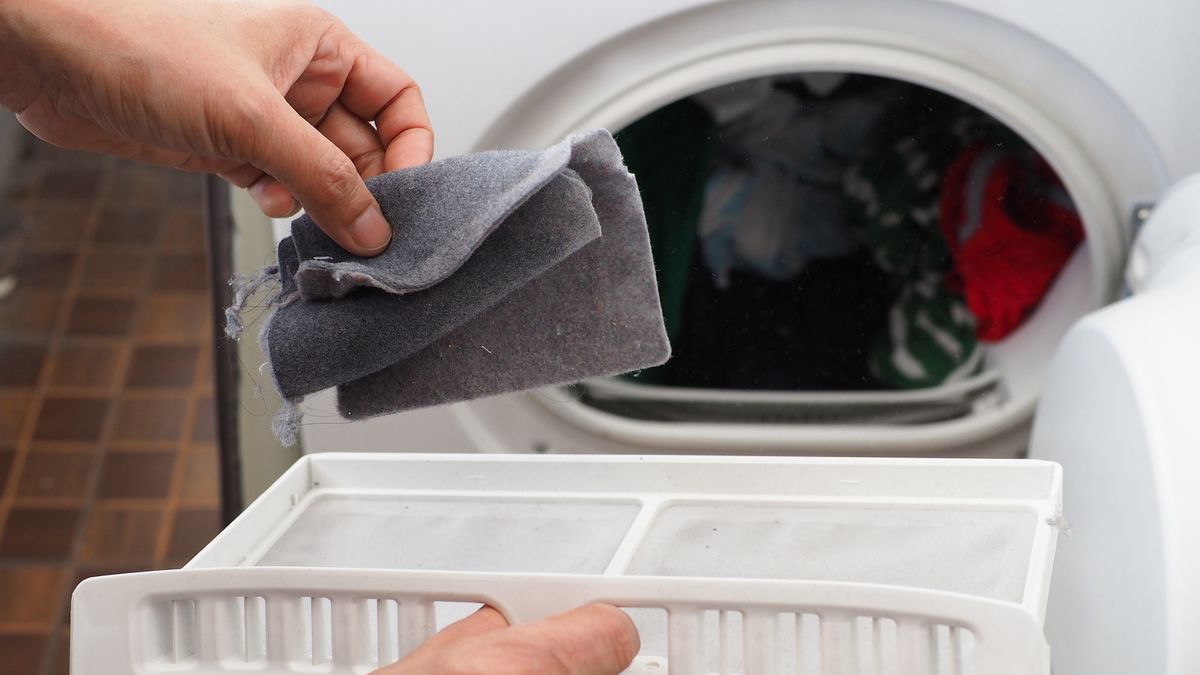
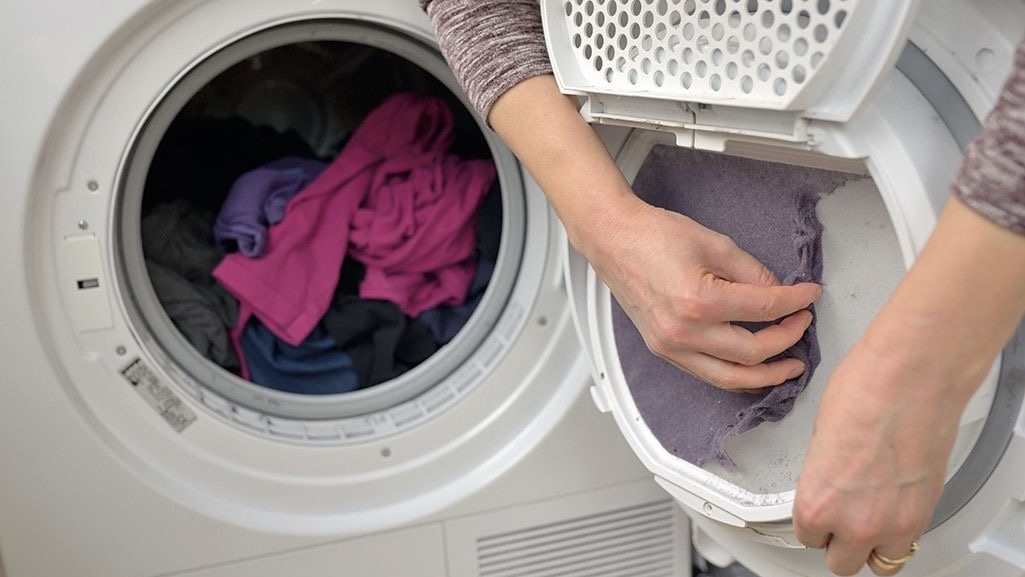
The lint trap is the first stop when cleaning a dryer. It’s usually the most common spot for debris to accumulate. After each use, remove the lint screen and clear off the accumulated lint to prevent drainage issues.
Source: Pinterest
If it’s been a while since the last cleaning, use warm, soapy water and a soft brush to scrub away any stubborn debris. Allow it to dry completely before reinserting it into the dryer.
Step 3: Wipe Down the Drum for Residue Removal
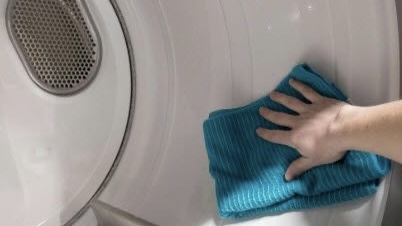
Over time, fabric softener and detergent residue can build up inside the drum. To clean a dryer drum, mix equal parts vinegar and water, dampen a microfiber cloth, and wipe down the interior.
Source: Pinterest
For stubborn stains, baking soda works wonders. This ensures your clothes remain fresh and free from unwanted odors.
Step 4: Check and Clean the Dryer Vent
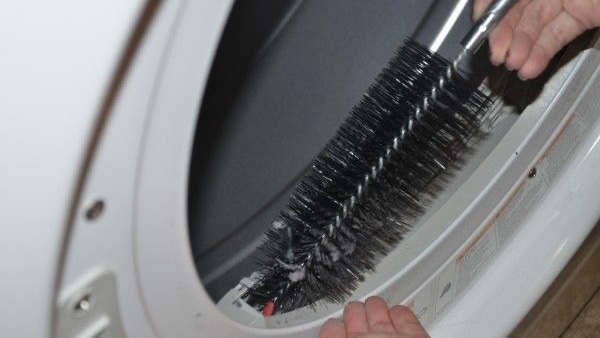
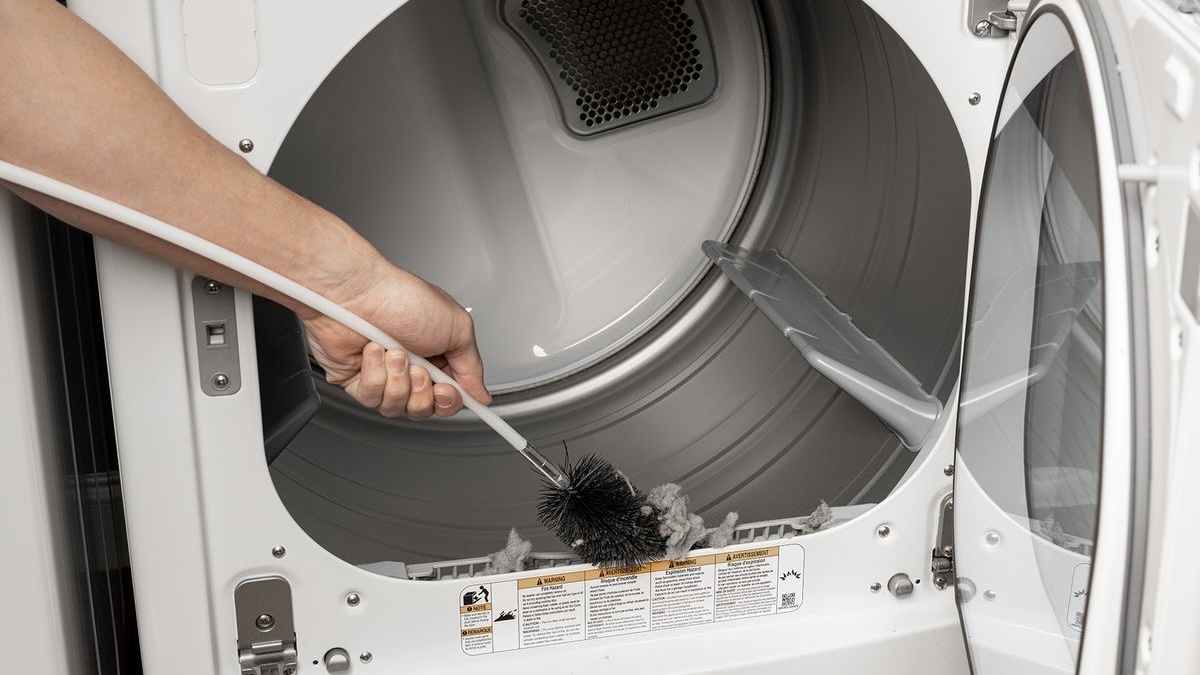
The dryer vent is where most lint and dust accumulate. Use a vacuum cleaner with a hose attachment to remove debris from the vent. If your dryer vent is particularly long, consider using a flexible vent brush for a thorough clean.
Source: Pinterest
A clean vent not only boosts drying efficiency but also reduces fire hazards. If you ever notice reduced airflow or longer drying times, the vent is likely clogged. Clean it.
Step 5: Inspect the Exterior of the Dryer
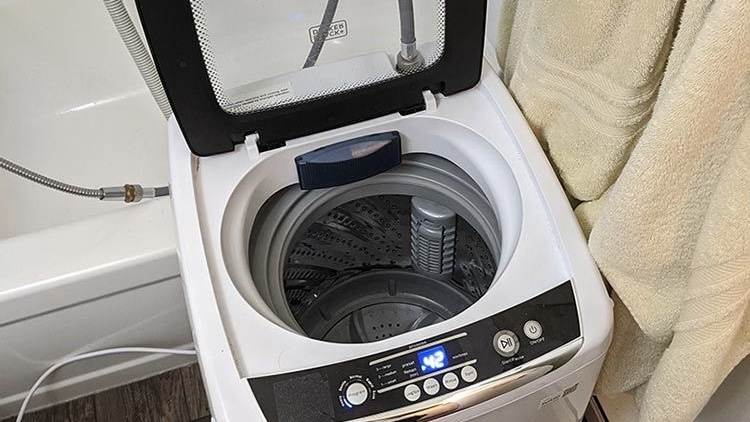
Don’t neglect the outside of your dryer. A clean dryer isn’t just about internal parts. Use a soft cloth and mild detergent to wipe down the exterior, focusing on the knobs and buttons.
Source: Pinterest
This step isn’t just about aesthetics—it prevents dirt and grime from interfering with the controls. A clean dryer looks great and operates smoothly.
Step 6: Inspect the Dryer’s Back Panel
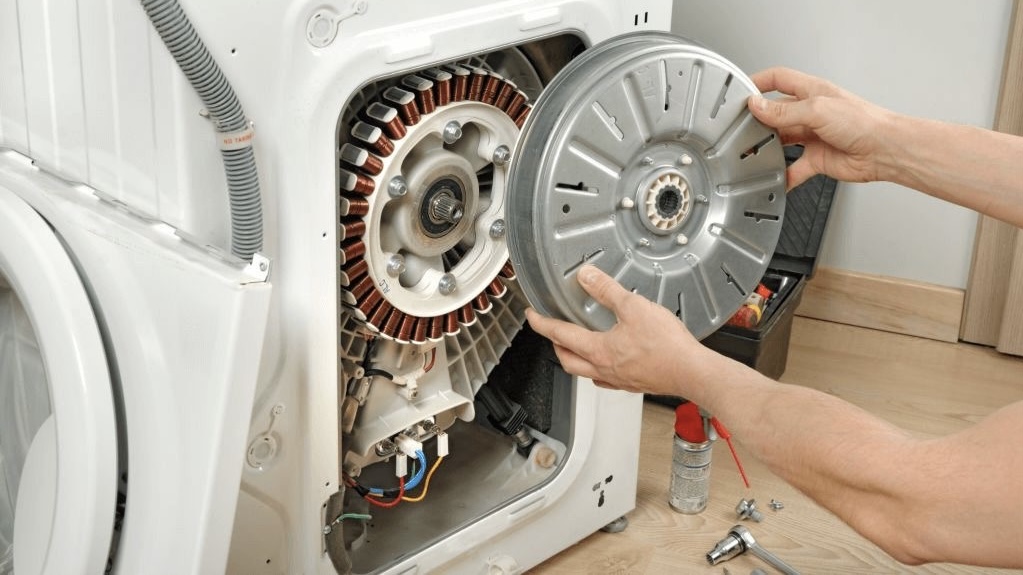
You would be surprised how much dust and lint the back panel of your dryer often collects. Remove the panel carefully, following the manufacturer’s instructions. Next, use a vacuum or soft brush to clean away any debris.
Source: Pinterest
This step ensures that stray lint doesn’t find its way back into your clean dryer or pose a fire risk. Lastly, cleaning the dryer’s back panel doesn’t have to be frequent—once or twice a year should suffice.
Step 7: Make Dryer Cleaning a Habit
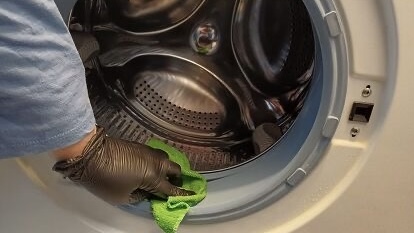
Cleaning a dryer isn’t a one-time task. To maintain peak performance, clean the lint trap after every load. In addition, wipe down the drum weekly and deep-clean the vent every few months.
Source: Pinterest
Setting reminders for these tasks will help you avoid issues and keep your dryer working like new. A little effort goes a long way in maintaining this valuable appliance.
Common Mistakes to Avoid When Cleaning a Dryer
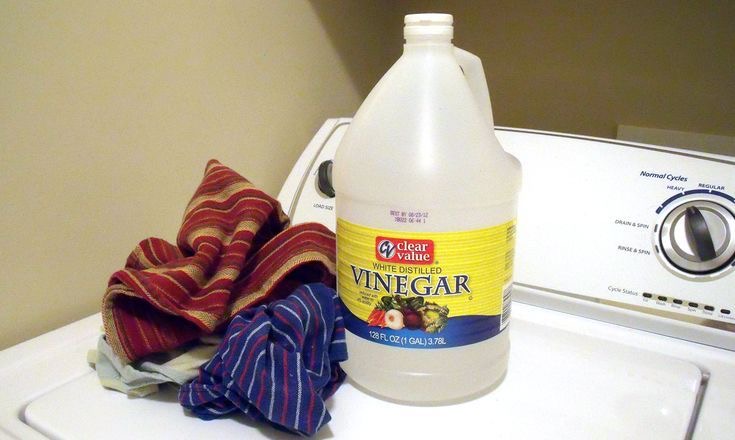
Even with the best intentions, mistakes can still happen. Hence, it’s important to know and avoid costly mistakes. First, avoid using harsh chemicals that might damage your dryer.
Source: Pinterest
Furthermore, never operate the dryer without properly reinserting the lint trap after cleaning. Remember that regular maintenance is key—don’t wait for issues to arise before you act.
First Users’ Tips for Dryer Longevity
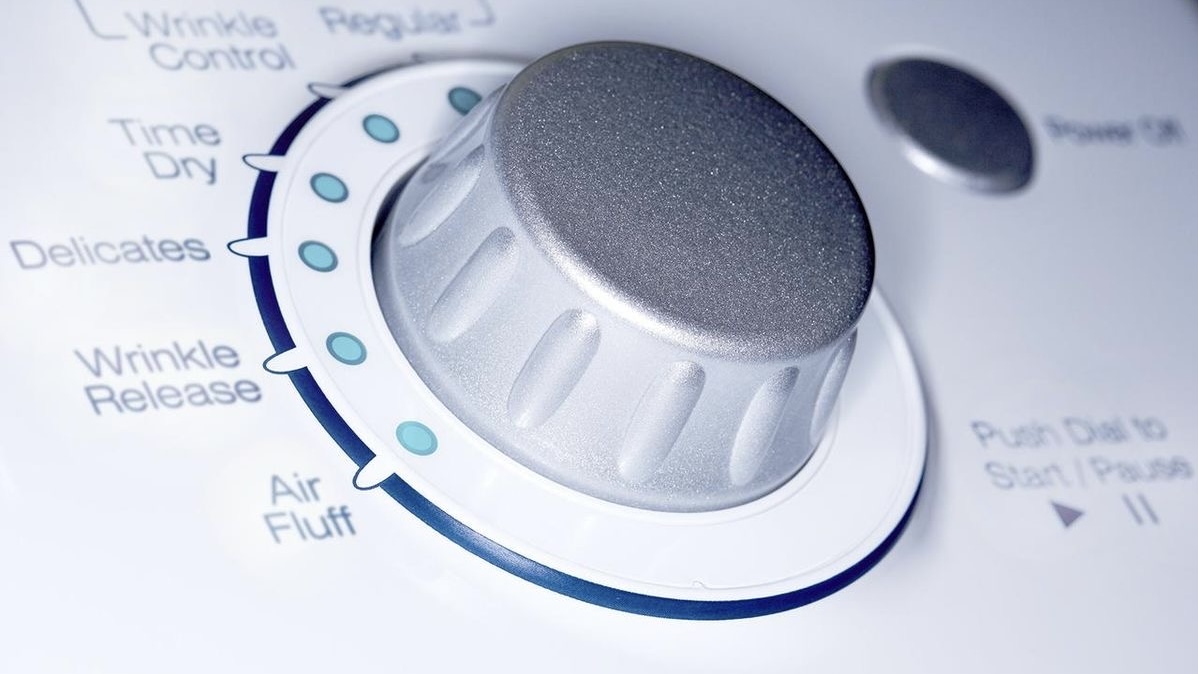
Firstly, avoid overloading. Overloading your dryer can strain its components and lead to quicker wear and tear. Next, use the right settings: Always use the appropriate settings for the type of fabric you’re drying.
Source: Pinterest
Lastly, call for professional maintenance. If you’re unsure about cleaning deeper parts, schedule professional servicing annually.
Ready to Enjoy a Cleaner, Safer Dryer?
Cleaning a dryer may seem like a chore at first, but it’s a simple task with big rewards. Not only does it extend the life of your appliance, but it also ensures your home’s safety.
Source: Pinterest
Following the above steps will keep your dryer running efficiently and your clothes fresh. Start your dryer cleaning routine today and enjoy a great laundry experience.
